,fit(cover),quality(100)/https%3A%2F%2Ftrackercdn.com%2Fghost%2Fimages%2F2021%2F3%2F241629_1915a6f03752b39c7ff4502df2107c4c.jpg/image.jpg)
This week may have seen the release of the new strike Proving Ground, but before you earn your loot there we are taking a quick stop with The Arms Dealer strike.
The Arms Dealer has been around since the inception of Destiny 2 and though it may be a familiar strike, it still makes for a challenging Grandmaster. Here is your guide on how to complete it from start to finish.
Nightfall: The Ordeal - Devil’s Lair
Modifiers:
- Scorched Earth - Enemies throw grenades significantly more often.
- Champions: Unstoppable - This mode contains Unstoppable Champions, which cannot be stopped without an Unstoppable mod.
- Champions: Barrier - This mode contains Barrier Champions, which cannot be stopped without an Anti-Barrier mod.
- Chaff - Radar is disabled.
- Match Game - Enemy shields are highly resistant to all unmatched elemental damage.
- Equipment Locked
- Extinguish - If your Fireteam falls in a restricted zone, your team is returned to Orbit.
- Limited Revives - Gain additional revives by defeating Champions.
- Champions Mob - This mode contains additional Champions.
- Zahn's Stratagem - Solar damage and incoming Airborne damage increased.
Classes:
If you are looking to get through this strike the "legit" way you are going to want:
1x Bottom Tree Void Hunter with Ominioculus Exotic Chest / 1x Middle Tree Arc Warlock with Geomag Stabilizers Exotic Boots / 1x Middle Tree Arc Titan with Cuirass of the Falling Star Exotic Chest.
Other combinations that will work:
1x Bottom Tree Void Hunter with Ominioculus Exotic Chest / 2x Middle Tree Arc Warlock with Geomag Stabilizers Exotic Boots.
1x Bottom Tree Void Hunter with Ominioculus Exotic Chest / 2x Middle Tree Arc Titan with Cuirass of the Falling Star Exotic Chest.
For this strike you are going to be relying on your ability to fight from cover while you team up on the champions to eliminate them quickly. Avoiding the heavy fire from tanks and Barrier Champions will be crucial.
Weapons:
Anarchy - Anarchy will be key here to ensure you are eliminating champions even when you are taking cover from the heavy fire. This will work miracles on the tanks and Threshers as well. I suggest 1-2 of these per team.
Izanagi's Burden - This strike has a lot of Barrier Champions so being able to rely on Izanagi's to quickly eliminate champions will be helpful.
Outbreak Perfected - Outbreak isn't really a "meta" for this strike but if you are going for the cheese method and just want to have fun 2-3 of these per team will quickly melt champions. Plus, maybe if we all use Outbreak we will get that Siva season we all want.
Your legendary weapons for this strike should aim to be Void or Solar. There are no Arc Shields in this strike so focusing on these two elements will be highly beneficial.
Armor and Weapon Mods:
For the best results run Anti Barrier Sniper and Unstoppable Pulse Rifle. I highly recommend making sure everyone on the team has an Anti Barrier weapon because the champions like to hide in this strike so they are able to regen health rather quickly if not stopped.
Solar Resistance, Concussive Dampener, and Sniper Resistance will all come in handy so make sure you have at least one to two of these mods on your armor.
Sniper Rifle Scavenger and Reserves will be critical to making sure you stay ahead on the ammo economy for this strike.
Strategy:
Spawn -
Once you land you will immediately be confronted with an Unstoppable Champion and a Barrier Champion. Pull agro from the Unstoppable Champion and make him separate from the rest of the enemies to eliminate him quickly. Then take down the rest of the enemies before engaging the Anti Barrier Champion so you are able to pick it off quickly and safely.
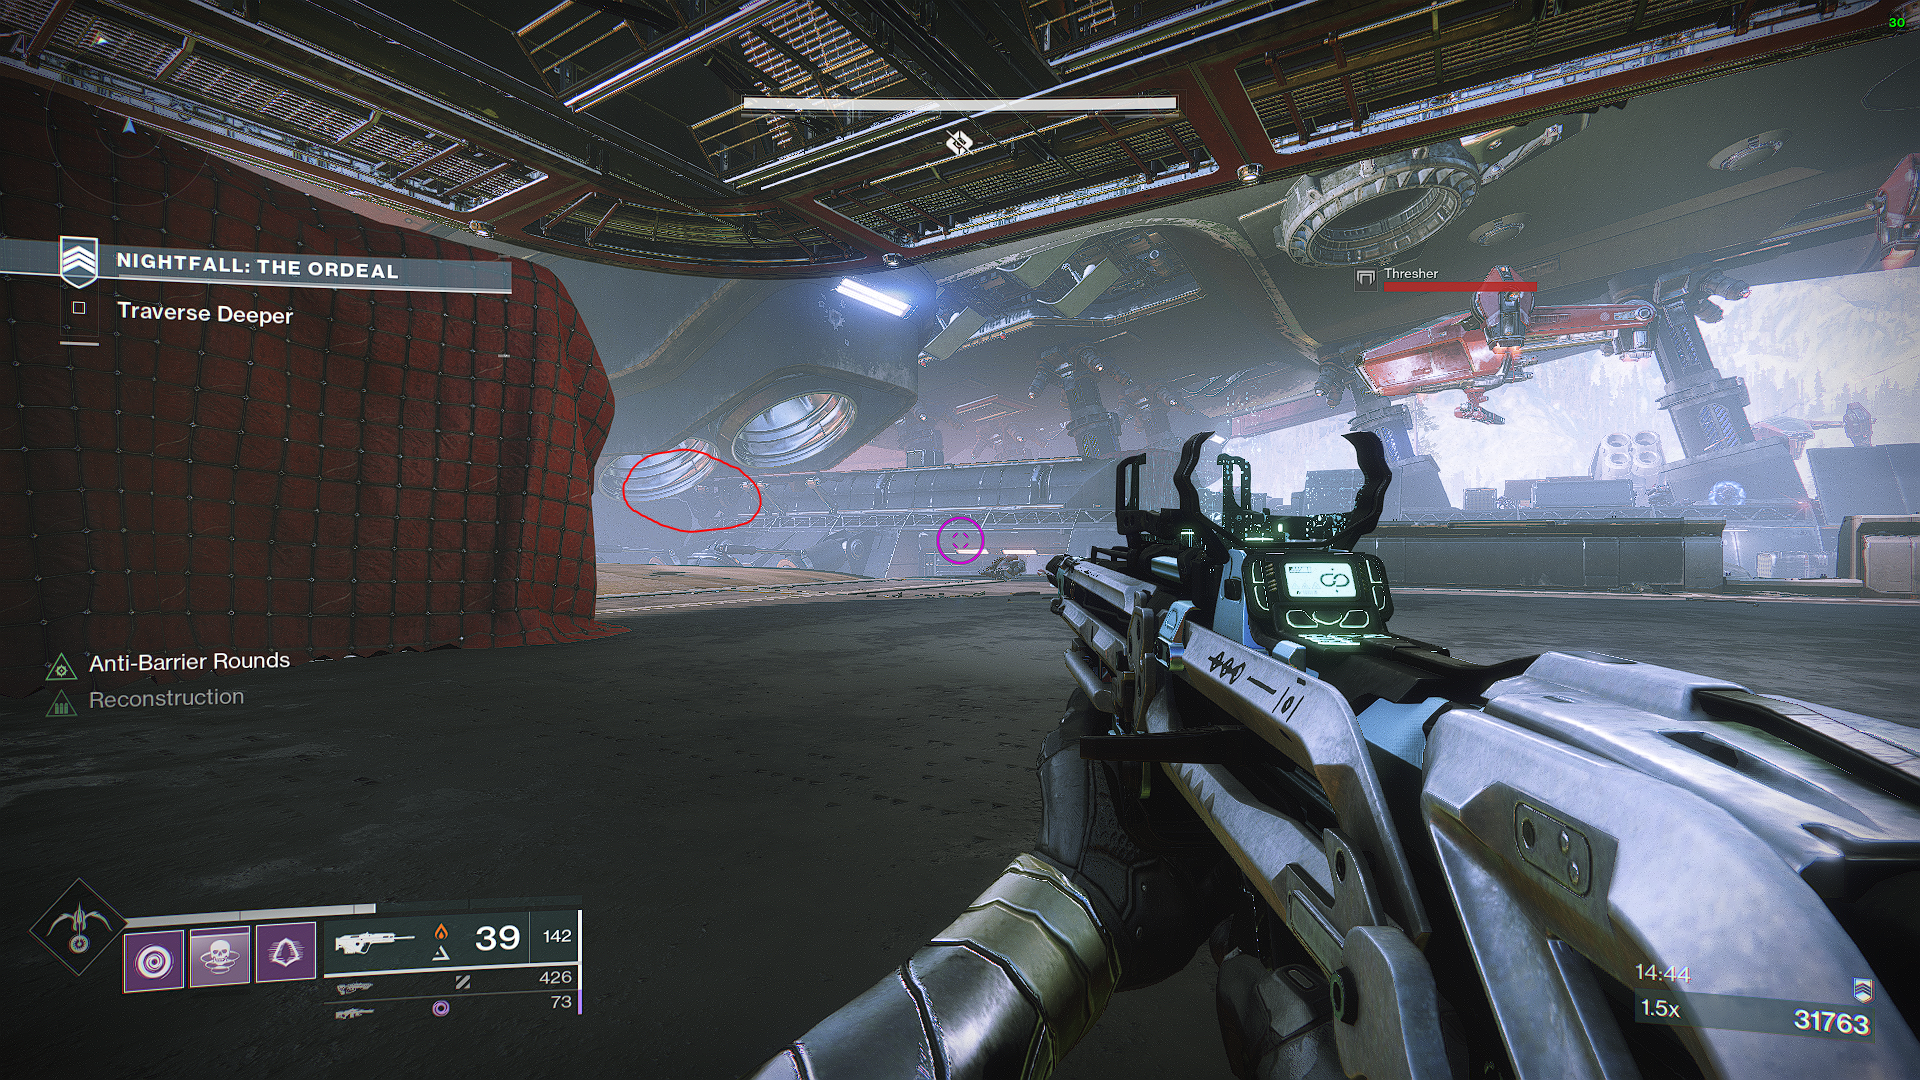
Hangar -
The Hangar will seem like a mess of oncoming fire but if you play it from the back you will be able to effectively move through with ease. First thing to do will be take down the Thresher in the sky, this vehicle will wipe your whole team if you are not careful so ensure you take shots on it from cover. Anarchy will be the move here.
Then focus on the snipers that are spawning from the back areas of the map, they will be lasering their sights on to you if you are not careful. Eliminate the yellow bar Slug Shooter to advance to the next wave of enemies as well as the next Unstoppable Champion.
Pick up the charge and then drop it before moving forward.
Off Load The Charge -
This area is best to clear before bringing the charge along with you so everyone on the team is able to shoot. Push up to unleash the war beasts and then focus all of your fire on the first Barrier Champion.
Eliminate any sniping enemies you can find and then take down the second Barrier Champion from the safest angle you can find. Keep your eyes out for the Thresher flying around as well.
After dunking the charge you will have a few small groups of enemies to take down as well as an Unstoppable Champion from the back.
Traverse Deeper -
Fight through the small wave of Cabal using the explosive barrels to your advantage. Make your way outside and prepare to run.
You are going to want to immediately run to the right side of the ship as soon as you are outside. Doing this will avoid all of the fighting Fallen and Cabal and will place you directly in front of the only champion this section has to offer.
Eliminate this Barrier Champion from cover and then press into the next area.
Enter The Cabal Base -
Before you even push to where you can see the tank, take note of your surroundings. Stay as far left as you can of the doorway and shoot your Anarchy from cover till the tank is eliminated. Try to stagger your movement as a team so if the tank does shoot one of you it isn't a team wipe.
After the Tank is eliminated locate the unstoppable and take it down alongside the other red bar enemies. Once you have cleared the area, focus on the Barrier Champions one at a time as a team. Utilize the cover of the parked ships to keep yourselves safe during reloading as the Barrier Champions can one shot you.
Call down the second tank now and immediately move to where you came in from. You will be able to put Anarchy on the tank by moving up and after it has been eliminated your goal will be to pull down the Unstoppable Champions one at a time to your area. It is in your best interest to eliminate the tank before the Unstoppable Champions realize where you are.
Pre - Bracus Zahn
As the doors unlock Bracus Zahn will be there to greet you. Ingnore him and jump up to the right into the corridor. There will be a few enemies to take down but eliminate them and then take out the turrets before advancing.
NOTE: There is a glitch where sometimes a Barrier Champion will spawn up here. In this case just melt it quickly.
After the turrets are down, jump down and take down the Unstoppable Champion. Move up to the bridge and then take down the next wave of turrets while you use your cover to stay alive.
Try to find one of the two Barrier champions where your whole team has a good angle. Eliminate that one first as a team and then quickly move on to the next. Congratulations you have defeated the last Champion of the strike.
Clear out the remainder of the enemies and then pull down the lever that will summon in the Drop Pod. Watch out for the Drop Pod...
After you clear out the enemies it is time to take on Bracus Zahn.
Bracus Zahn (Legit) -
This is where the guide is going to split. If you have a well skilled team and have set up to the classes mentioned at the beginning of this guide, keep reading here. If you are looking for the "cheese" way to complete this, move to the next section.
As the elevator rises get ready to place two Anarchy directly on Bracus Zahn. As soon as you have done so have the Tether Hunter continually pop their super onto Bracus while the Warlock / Titan both use their super on Bracus. If this is done correctly you should have one phased Bracus, if any of this was off you may need to take some quick shots at him while he moves around the map.
Make sure to take out the turrets while you locate him so you don't have any weird accidents.
Bracus Zahn (Cheese) -
As the elevator rises do everything you can to get Bracus Zahn down to the first break in his health bar. After doing this he will jump up onto a platform and call down a shield around him. If he is still sniping at you from a tower, take him down till he calls the shield.
Once this has happened a Thresher and more enemies will spawn. Take down the Thresher quickly and clean up the rest of the enemies before moving into position.
Have your Hunter grant invisibility to your entire team and utilizing Ominioculus they should get their smoke and grenade back infinitely. Throw your grenade under Bracus Zahn's platform to damage him without summoning any more enemies or worrying about mechanics. This will take about five minutes to finish him off. You must be using the Vortex Grenade on Hunter or a Solar Warlock with well and Solar Grenade to take advantage of this cheese. Check out the video below if you need a visual guide.
Ez GM CHEESE
— Suttledge (@Suttledge) March 23, 2021
Omnioculus + Vortex Grenade = Ez Boss Kill
Enjoy the loot pic.twitter.com/w1T25vNMoh
Possible Loot -
Shadow Price (Adept) Arc Assault Rifle
Adept Mods - You can earn any previously unearned Adept Mod as well as the new “Big One Spec” which provides a 7-8% Damage Boost against enemies.
Exotic Gear
Enhancement Prisms
Ascendant Shards
Have any questions about running or need help running the Strike? Let me know in the comments or @Suttledge on Twitter.
Follow me on Twitch and on Twitter to stay up to date with my content as I cover Destiny News, Guides, and offer Carries and Help!
,fit(cover),quality(80)/https%3A%2F%2Fcms.tracker.gg%2Fcontent%2Fimages%2F2026%2F06%2Fe83685974edceceef3fd8e0413dac95762816804-1920x1080.jpg/image.jpg)
,fit(cover),quality(80)/https%3A%2F%2Fcms.tracker.gg%2Fcontent%2Fimages%2F2026%2F06%2FHKBQQI6WQAAMa0a.jpg/image.jpg)
,fit(cover),quality(80)/https%3A%2F%2Fcms.tracker.gg%2Fcontent%2Fimages%2F2026%2F06%2Fpremium-frame-spirited_1200x675_comp.png/image.jpg)
,fit(cover),quality(80)/https%3A%2F%2Fcms.tracker.gg%2Fcontent%2Fimages%2F2026%2F05%2FFortnite-Power-Rankings.jpeg/image.jpg)
,fit(cover),quality(80)/https%3A%2F%2Fcms.tracker.gg%2Fcontent%2Fimages%2F2026%2F05%2FHI9JtYgagAAICE1.jpg/image.jpg)